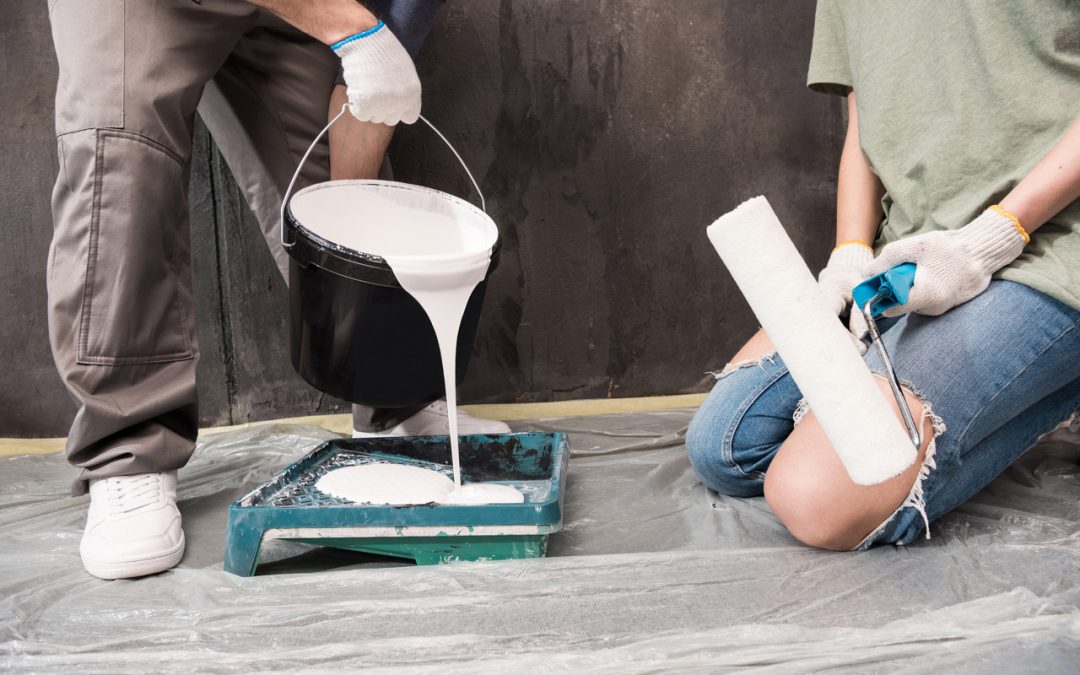
Repainting is one of the best ways to spruce up your home. Brand-new colors or simply fresh coats of the old ones can make your house feel more stylish, inviting, and pleasant.
But painting is more than just throwing something on the wall—proper preparation is key to a successful painting project. Whether you’re adding your touch to a new home or just in need of a change, review these seven paint prep tips before you dip the brush in:
1. Take Care of Furniture
Before you begin any other paint prep, it’s important to free up the area you’ll be painting. Move your larger furniture away from the walls and keep it clean by covering pieces with plastic sheets, specialized furniture covers, or drop cloths.
2. Vacuum Around Walls
Dust and dirt can stick to a new coat of paint, creating tiny scratches, making it harder for the paint to stick to the wall properly, and leaving nubs or bumps under the paint where the dirt has built up.
Vacuuming around the walls, especially near the baseboards and corners, helps remove any loose debris that could interfere with the painting process. Using a vacuum cleaner with a brush attachment will help you get into the nooks and crannies more effectively.
3. Get Cleaned Up
Clean surfaces are crucial for the paint to adhere properly to the surface. Your walls and ceiling may not look dirty, but they can accumulate a layer of grime over time. Give them a quick wash using a mixture of mild soap and water or special wall-cleaning wipes. Be sure everything is completely dry before painting.
4. Utilize Tape and Drop Cloths
Painter’s tape and drop cloths are your paint prep dream team. Tape along the edges of trim, windows, and any other areas you’re not painting this time around. Spread out drop cloths to protect your floors from any drips or spills.
5. Secure Smaller Pieces
Small items such as picture frames, decorations, and electronics should be removed from the room and stored in a sealed plastic bin. This not only shields them from paint splatters but also frees up space, giving you plenty of room to move during your paint prep and process.
6. Properly Prime
Don’t skip this step! A good primer helps to seal the surface, providing a uniform base for the paint. It also improves paint adhesion, ensuring a longer-lasting finish.
Choose a primer that works well with the type of paint you’re using and apply it evenly everywhere you’re going to paint. Allow the primer to dry according to the manufacturer’s instructions before applying your paint.
7. Let a Painting Company Handle the Hard Stuff
While DIY projects can be fun and rewarding, some jobs are best left to the pros. Hiring a reputable painting company can save you a lot of time and headaches—professional painters have the experience and equipment needed to tackle challenging projects and give your home a nice finish.
Start Fresh with Fillo
Your home is important—so don’t settle for just anyone to tackle your paint project. Our painters here at Fillo Painting and Exteriors are experts at what they do. Offering high-quality service is important to us, so we pay attention to detail and make sure the job gets done right.
And most important of all, we care. We care about you, your home, and your project. That’s why you’ll always find a happy and skilled staff ready to help you with your paint project. So when you’ve got a task that goes beyond simple paint prep, call Fillo.

