How to Prepare Exterior Wood for Painting
Home décor is important if a house is going to be made into more than just four walls and a roof. This goes beyond the paint job to include the actual paintings on the walls, or that aesthetically pleasing living room and more. It also includes the exterior of a home, the wood furniture in this case.
Let’s talk about the latter, woodwork.
It’s about time to do some revamping with paint on that flushed, cracked, wood of your home, and because it’s unlike painting for the interior, exterior house painting preparation is quite different.
Preparing Exterior Wood for Painting
Preparation is a step-by-step process that includes the following –
- Cover up Openings
The wood surface may have openings that shouldn’t be exposed to the subsequent treatments. Protect such openings by covering with plastic or cloth and secure with tape.
- Cleaning the Wood
Cleaning the wood’s surface is done in a three-way style: scraping, scrubbing and sanding. Begin by scraping off old paints. With a scrubbing brush, water, and detergent, scrub mildly. Go ahead and use sandpaper to smoothen any sharp edges.
- Replace Damaged Wood
In some cases, some portion of the wood may have rotten due to exposure to heat or infestation. However the condition of the wood, check for repairable parts. Clean and brace them with fungicide. For extremely damaged wood, replace them and apply a fungicide for protection.
- Filling
The wood’s surface may have some cracks or holes. These will make the surface rather rough. Fill in the surface with wood fillers such as putty. The result is a blended surface with no traces of recesses or holes.
- Sanding the Surface
Filling leaves some protrusions on the wood’s surface. An orbit sander comes in handy to sweep the surface into a smooth one. Use a circular stroke to run it along bare surfaces without the filler. This will ensure a smoother result.
- Wipe Surface
With a piece of dry cloth, wipe the surface to remove specks of dust from the sanding. Also, use a brush that penetrates tiny corners. If the surface stays dusty, and paint is applied, it results in a rather spotty surface that is rough to touch.
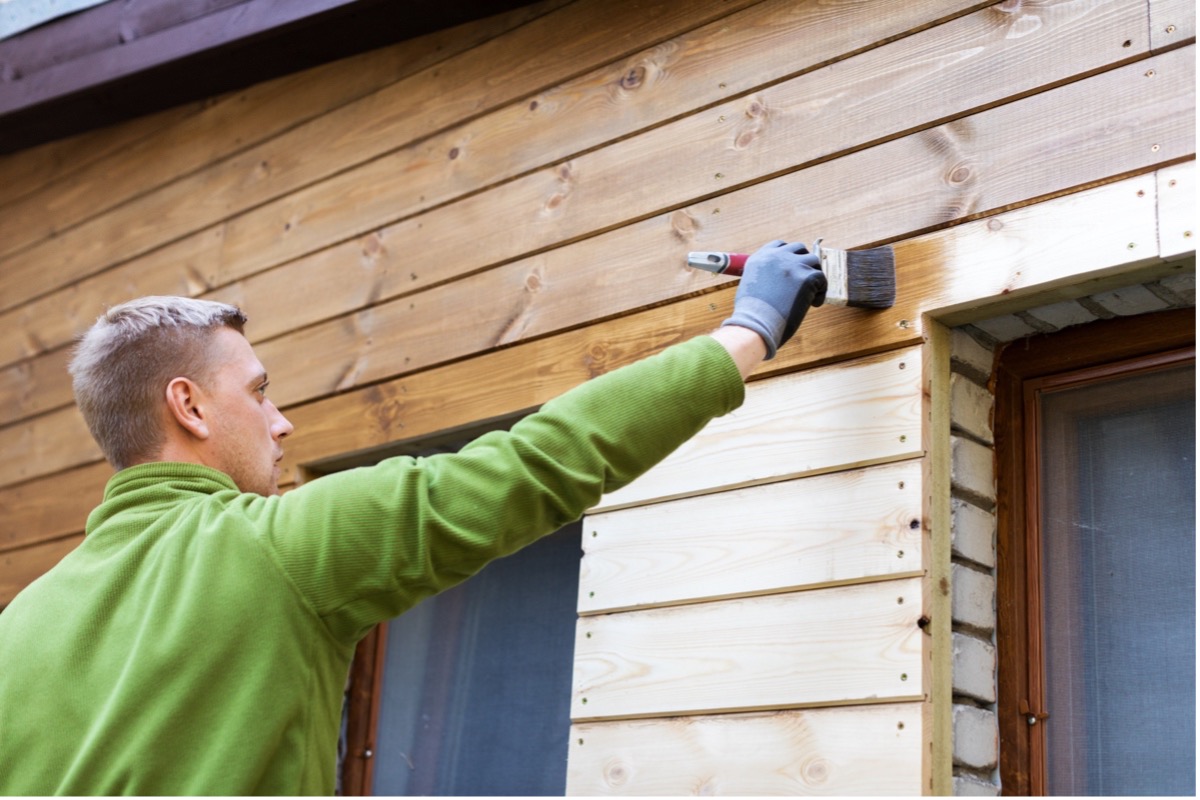
- Priming Surface
Coat with primer. Some surfaces are selective when it comes to priming. Understand your wood’s quality and texture; the right primer is sure to smoothen and allow the paint to sit right on the wood. For exterior painting, latex-based primer will withstand exposure to the elements better.
- Watch for weather conditions. Primer dries under 50°-90° F. If it’s either too hot or cold, the primer is liable to dry at a slow rate.
- We want to be sure you manage the application properly. A gallon of primer can cover a range of about 400 square ft. This way, you understand the quantity to apply.
- Caulking Surface
It takes about 12 hours for the primer to set properly on the surface. When you’re sure it’s dried, apply another round of primer. This is to make the paint as firm as possible. Use caulk where there are cracks. Caulking covers and dries within an hour.
And that’s how to prepare exterior wood for painting! Easy peasy? Your DIY skills could come in handy here. But there’s a massive difference when an expert does it.
And that’s where we come in. For both residential and commercial clients, homes, and businesses, Fillo Painting offers expert interior and exterior house painting services.
With a team of professionals, all you should expect is professional output. Available to reach for exterior house painting and more at a fair price. Call us today at 770-769-7941.