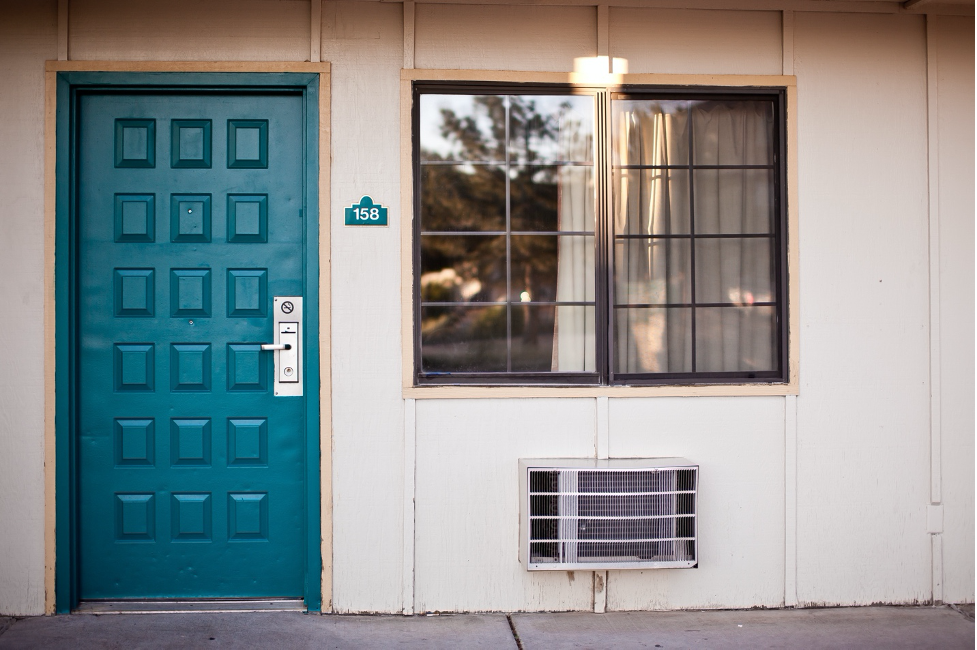
Every first impression starts with the eyes. For homes, improving curb appeal is as easy as changing the look of your front door. A fresh coat of paint can you give your house an instant face-lift. It sounds easy, doesn’t it? A tub of paint and a brush, and that’s that. It doesn’t have to be too technical, but you should have some basic knowledge of the correct steps to take for the best results.
We’ve got a budget-friendly guide on how to revamp your exterior door with a fresh coat of paint.
Get ready
Gather all the necessary tools for the job. This includes a primer, a paint roller and brush, painter’s tape, a screwdriver, rags, sanding tools, and a mixing stick. These all serve important roles and if you fail to get them ready beforehand, you risk running into problems like dripping paint when you have to get something in the middle of a painting session.
Select your paint
You know it’s time to select the paint for the job. But what type of paint do you need? Do you just get any old paint in your favorite color and slather it all over your door? Not quite. Unlike interior doors, exterior doors are exposed to the elements.
You need paint that can:
- cover minor imperfections
- survive harsh weather
- dry quickly
- offer aesthetic appeal.
To get this, be on the lookout for paint that is labeled ‘exterior’. Next, consider the type of door that you plan on painting.
Water-based paints work best for doors made with wood that doesn’t bleed, such as pine and white fir. You can also use this for fiberglass doors.
For doors that bleed (cedar, cypress, redwood, etc) and metal doors, go for oil-based paint.
As for gloss, semi-gloss paint is perfect for exterior doors. While you’re at it, choose a primer that best suits the paint you go for – they’re often recommended on the paint can.
Pre-painting work
We recommend you remove the door entirely before painting. It’s easier for you to paint this way, and it dries evenly when you do this.
It’s a relatively simple step. Use a screwdriver and hammer to remove the hinge pins holding the door to the wall. Then, remove the hardware and other fixtures on the door.
Another important step to take here is smoothing out the door’s surface to get it ready for priming. Use sandpaper or any other sanding tool you have for this. Fill in any cracks or holes with some caulk and sand them flat. Go ahead and apply your primer with a paintbrush and allow it to dry.
Paint the door
Stir the paint evenly to ensure there are no bubbles or lumps in it. With your roller, paint the door starting from the center and working your way outwards. Rollers are best suited for flat parts of the door. When you get to the corners or any crevices, switch to a wide brush for a cleaner finish. Two coats will do. However, if you’d like to increase the saturation and produce a deeper tone, use three or more.
Reattachment
Wait till the two sides are completely dry. It should not feel tacky or sticky to touch. Replace the fixtures and gently reattach the door to the frame.
And that’s how to paint an exterior door. If you need some help with painting your exterior door, reach out to us at Fillo Painting. We’ve got professional painters at the ready to paint the interior and exterior of your house.
