Painting is an excellent way to impart beauty, be it on a canvas or on the walls of your home. When it comes to painting a house, the interior and exterior walls take precedence, at least in the hands of an amateur.
The experts see things differently. The walls, the ceiling, the trims, the doors, and others are considered equally.
Today, we’re focusing on painting trim…the professional way.
The Right Way to Paint Trim
You’re probably wondering if it’s not just as simple as dunking a flat brush in a bucket of paint and slapping it all over the window trim. There’s so much more to it. Your efforts here will complement your walls and give you a room a complete and clean look.
Here’s how to paint trim on your windows, doors, baseboard, and more –
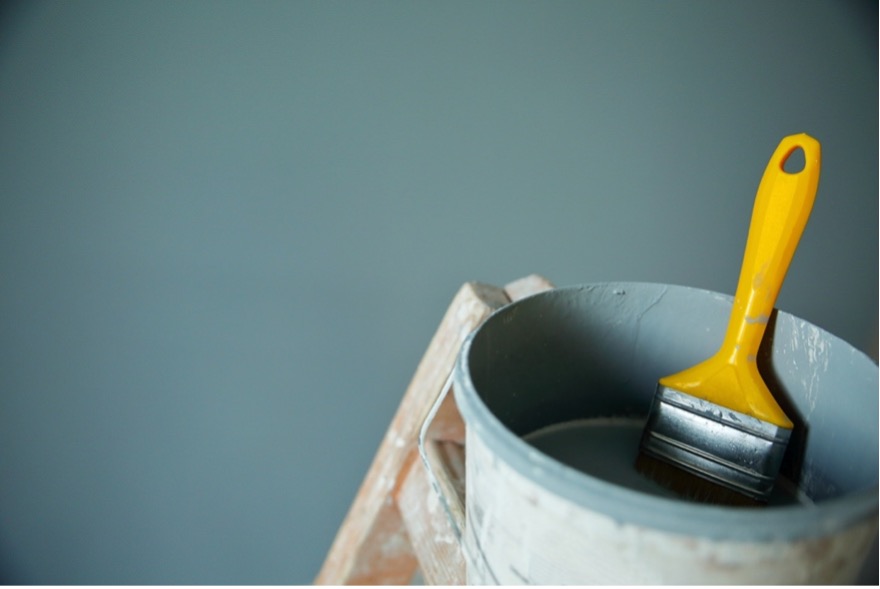
Step 1 – Choosing the Right Paint
Trim paint is not only visually pleasing but also able to withstand marks and scrapes since it’ll be used on high-impact areas.
Go for interior paints that are either semi-glossy or highly glossy. It’s also great if it’s oil-based paint which helps to level out brush marks. Also, choose one with a thick consistency to prevent sagging.
If the paint is for your window trim, consider getting non-yellowing paint so the sun doesn’t alter the color.
Step 2 – Gather Your Equipment
You will need some basic painting supplies including –
- Painters tape
- Interior primer
- Paint
- Sponge
- Sandpaper
- Small bucket
- Paintbrushes
- Caulk
Step 3 – Getting the Trim Ready
Get rid of any visible dirt and grime on the trim. A damp sponge does this easily. Use sandpaper to sand the surface.
Sandpaper of about 80 grits takes the edges off chipped paint. Medium grade is mostly used to sand surfaces that aren’t too bad. Very fine sandpaper of 220 grit is used to smoothen surfaces between coats. After sanding, wipe away the dust with a damp sponge.
Step 4 – Fill in any holes with caulk
Failure to do this results in an obviously rough job. It’s typical to fill in holes at this point but here’s a pro-tip for you –
It’s easier for you to see these holes after you apply white primer, especially if your wood is stained wood.
Step 5 – Taping the Walls
Carefully apply the painter’s tape to the wall surrounding the trim. Use one long strip of tape to do this instead of several small pieces, otherwise, the trim paint might bleed through the tape.
If you’re painting baseboard trim, tape off any area that is close to the wall. If there’s a carpet on the floor, try to bend it or cover it with a carpet shield or a piece of rag.
Step 6 – Priming Time
Carefully apply primer to the trim. An angled brush works great here. Let it dry for 24 hours and sand to smoothen. Remove all dust and get ready for painting.
Step 7 – Painting
Mix the trim paint according to the manufacturer’s instructions. With an angled brush or flat brush, gently but firmly paint the trim using short and long brushstrokes. Start with the short ones and finish with a long stroke. The goal is to create the appearance of long, smooth strokes.
A clean trim sets the tone for the rest of the paint in the room. Avoid going over the tape line. Allow the trim paint to dry. Just before it’s fully dry, carefully pull the tape off.
Painting your trim and doing a good job is a great way to enhance the visual appeal of your room. If your DIY skills are lacking, you could just leave the job to the experts. That way, you are assured of a good job.
If you’re in Atlanta, Georgia and wondering:“Where can I find painters near me?”
At Fillo Painting, exterior or interior painting and other painting services are our forte. Contact us here for more information or by calling 770-769-7941.