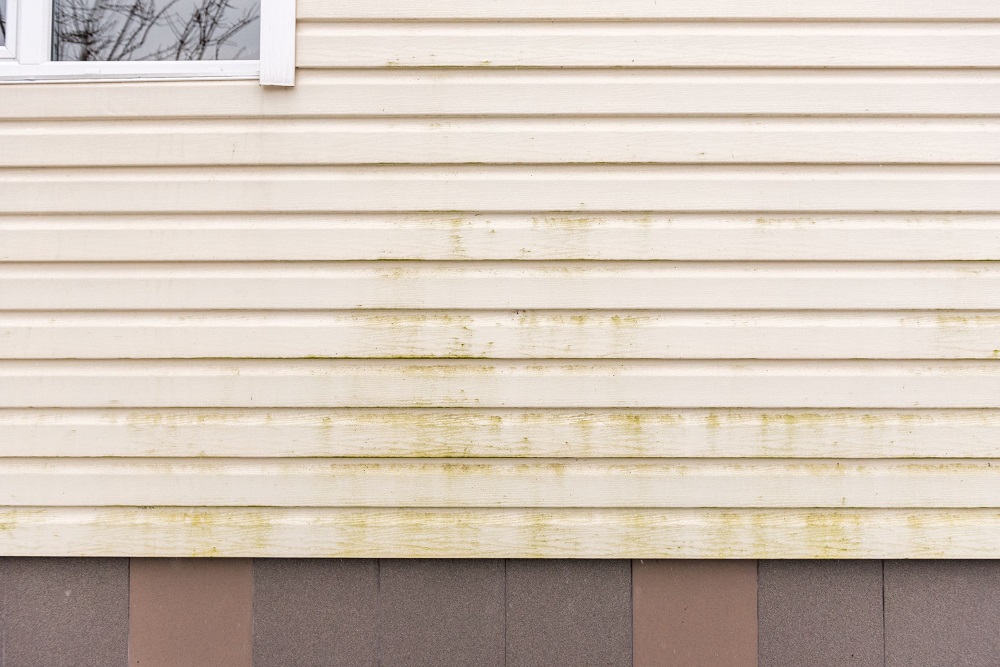
Painting your home’s exterior is one of the easiest, most cost-effective upgrades you can undertake. It provides an immediate lift in terms of curb appeal, but it also ensures that your home is protected from the rage of the elements. While painting is a relatively straightforward task whether you do it yourself or hire residential painters in Woodstock to handle the job on your behalf, a large factor in the success of any painting project is surface preparation.
Surface preparation consists of anything that must be done to the exterior of your home to ensure that paint goes on smoothly and adheres properly. Some painting companies include many components of surface prep, such as sanding and paint removal, in their list of residential painting services. However, there’s another surface preparation task that can be executed by almost any homeowner. Before anyone can paint, all mildew and mold must be removed from your home’s exterior so that paint will adhere and look its best when applied. Keep reading to learn how to remove mildew from your home’s exterior painted surfaces thoroughly.
Surface Mold and Mildew
While the process of cleaning mildew and mold from your home’s exterior may not be difficult, it may take some intense labor. Fortunately, removing the surface mold from the home isn’t that difficult otherwise. There are basically two methods for mildew removal, one of which employs a labor-saving device. First is the old-fashioned way using a bucket and a variety of brushes. You may want to have a scrub brush as well as a brush mounted to an extension handle that will allow you to reach the higher corners of your home. To clean the surfaces, simply fill the bucket with a gallon of warm water and a cup of bleach. You can also add a chemical known as trisodium phosphate, or TSP, to expedite the process. Soak the brush in the solution and begin scrubbing the affected areas. If only a small portion of your home is affected by mildew, it may be more convenient to put the solution in a spray bottle and spot clean trouble spots. Once the scrubbing has been done, rinse the surface with your garden hose.
The other method for removing surface mold is to use a pressure washer. You can wash your home with or without a cleaning solution, as the pressure of the jetted water will scour the surface and remove the mold and mildew. It may also remove loose paint, which can be an added bonus when preparing your home for repainting.
Deep Mold
After you’ve thoroughly cleaned the surface mold from your home’s exterior, you may notice that there are still some spots where the mold seems to have penetrated deeply into the paint or surface material. Removing that mold is important because it could reemerge after the new paint is applied and shorten its life span. To get a deeper clean on molded exterior surfaces, you’ll need a more powerful cleaning solution. Mix a second solution of half water and half bleach and apply it to the surfaces. Make sure to wear goggles and gloves to protect you from the chemicals. Spray or brush the solution onto the affected surface and allow it to sit for at least 15 minutes. That will allow the solution to sink in and reach the deep-seated growths. Repeat as necessary until the mold diminishes, then rinse the surface thoroughly and allow it to dry before painting over it.
Though many exterior painting services in Woodstock will perform surface prep before painting, you can save yourself a little time and money by treating mold and mildew on exterior surfaces yourself. It’s important to remove mold before painting because doing so ensures that your paint will look great and last for years to come. When you’re ready to paint your home, contact Fillo Painting at (770) 769-7941.

